

I’ve had a few people contact me for instructions to make the silhouettes; for anyone else who is interested, here is a step by step (pics included — yeah, I’m that good) tutorial for you!
*Note: the instructions will be given using the photo program, GIMP. You may have to make adjustments if you use a different software.
Step One
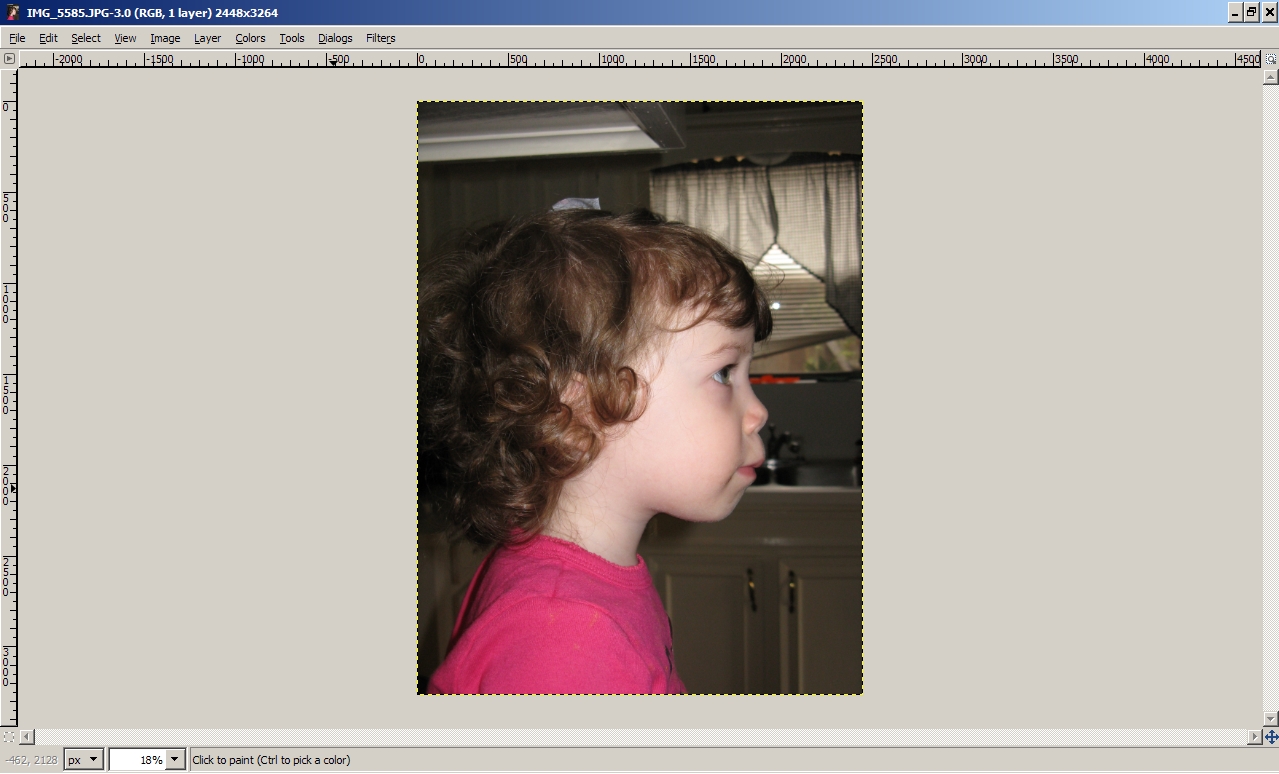
Take a profile shot of your subject. Good luck doing this if you have a toddler who would rather be doing her own thing.
Step Two
Open the picture in the photo-editing software of your choice I use GIMP, which is a FREE editing software and very similar to Photoshop. I use it for EVERYTHING — including my blog design work. I love it! (You can download it HERE)
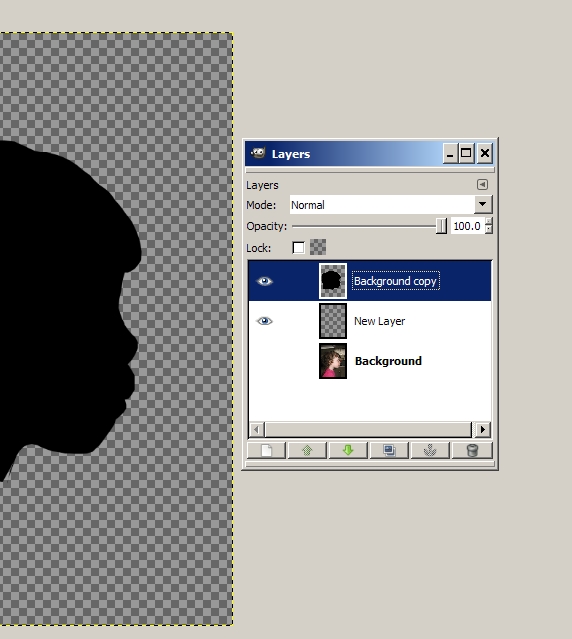
If you duplicate the photo layer and add a transparent layer (then hide the original background layer), it will make things easier later when you edit your work. Hide the original background layer.
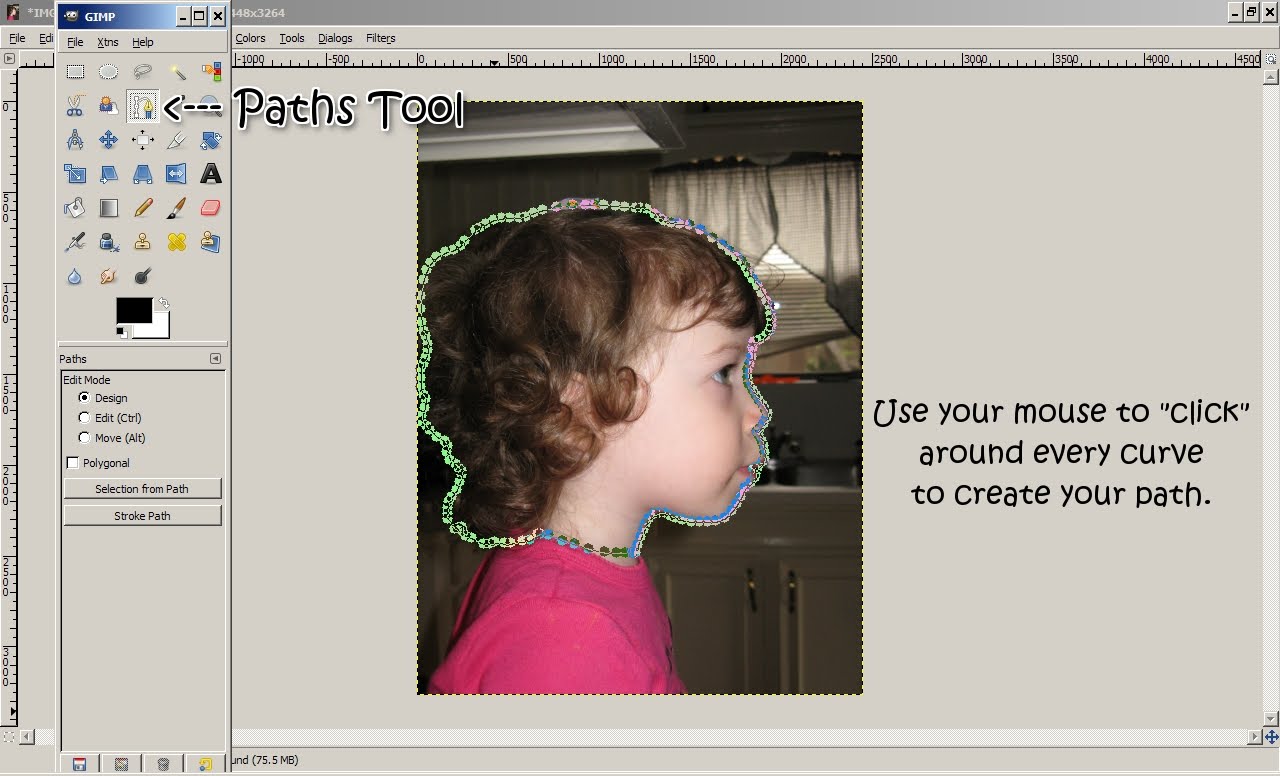
Step Three
This is the only step that is time-consuming. Use the paths (or clipping) tool to create an outline around the subject’s profile (zoom in if you need to do so). If the background makes it difficult to see every curve of the head, use your brightness/contrast tool to play with things until the details are more prominent.
Step Four
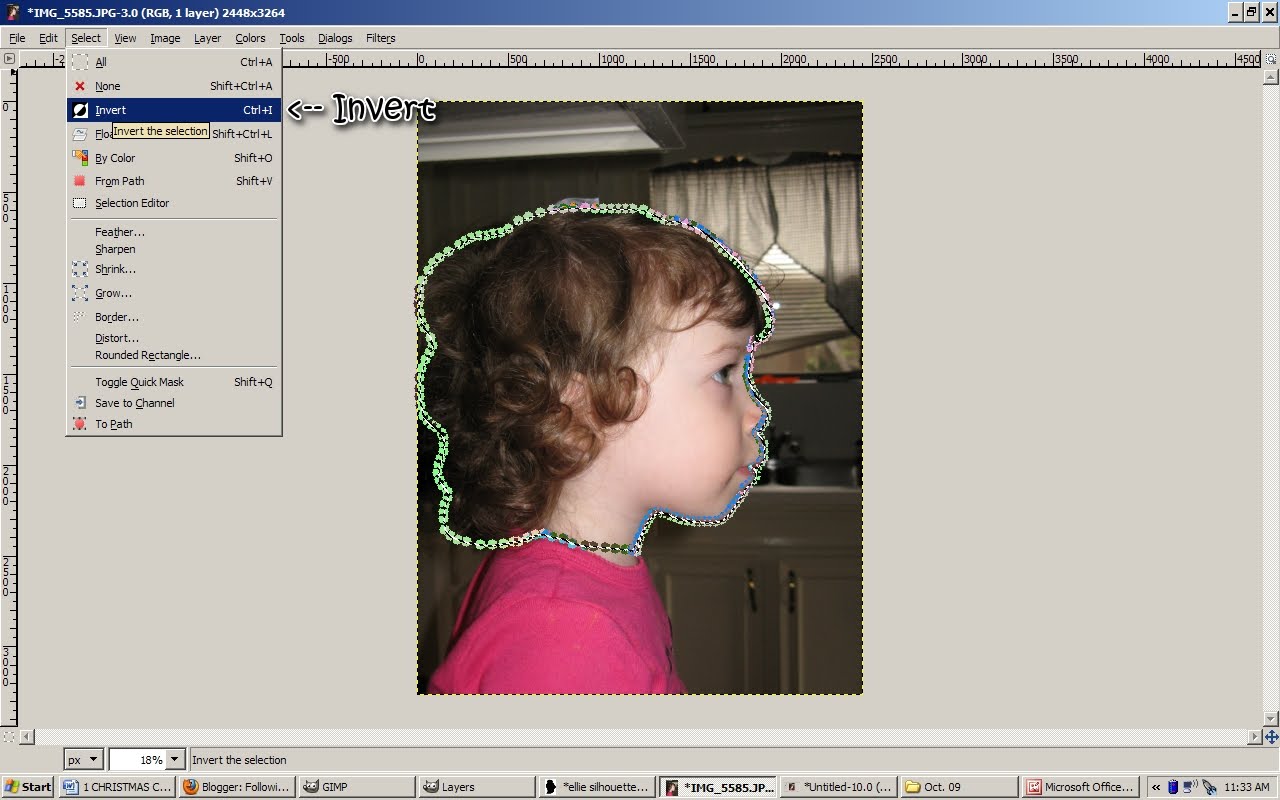
It’s time to eliminate the background. In Gimp, this is done by selecting “Selection from Path” on the toolbox..

Then (from the toolbar this time) choose “Select” — “Invert.” (Inverting tells the program to remove just the background from the original picture.) After selecting Invert, simply hit delete to remove the background.
Step Five
SAVE YOUR WORK at this point. There is nothing more frustrating than to lose everything at this point. Grrrrrr!
From here on, it’s prudent to continue saving after each completed step.
Step Six
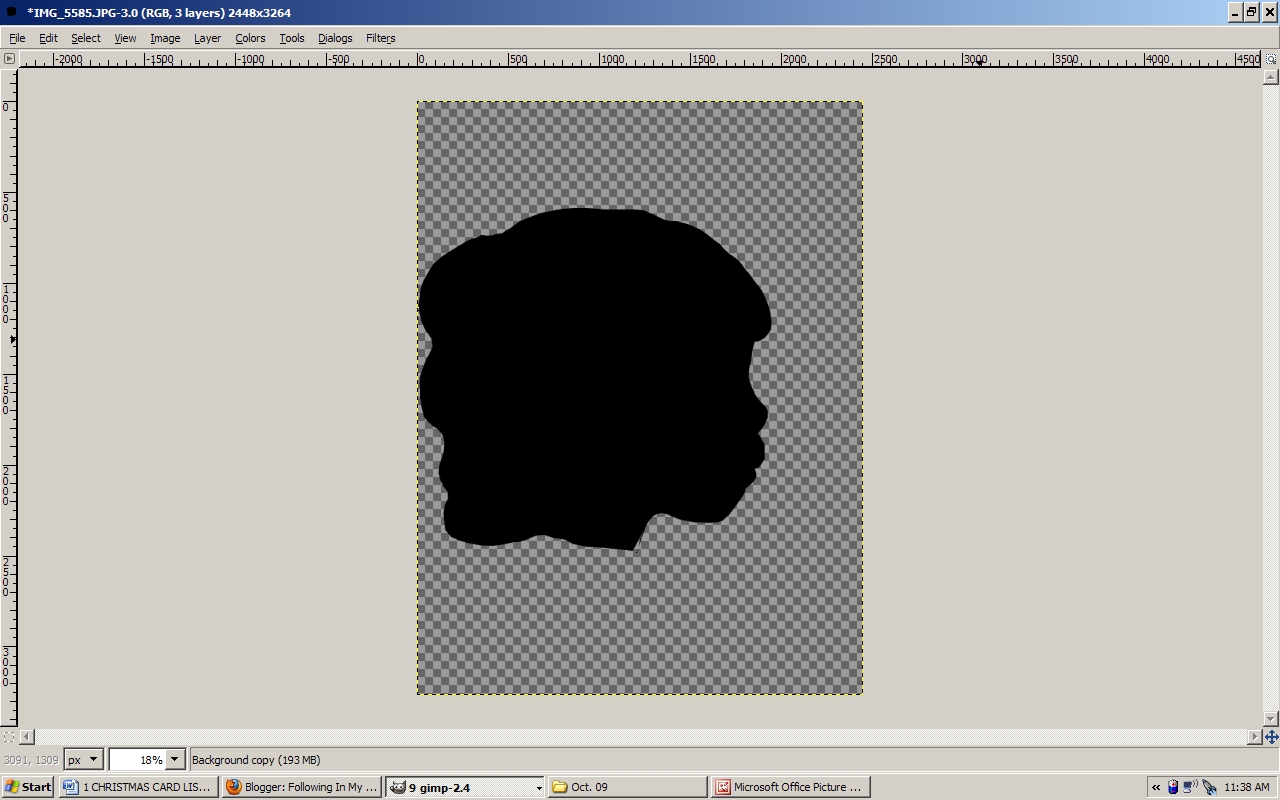
Once you have just the profile left, click on your “Move” tool to remove the path around the profile and then go back to “Select” (on the Toolbar) and choose “None.” This will get rid of the “inversion” from the previous step so that you don’t accidentally flood the background in the next step. Trust me– that’s not a good thing!!!!!
Now — choose “Alpha to Selection” to highlight JUST the profile. Once that is completed, use the “Fill” tool and fill it in with black.
Remove the “highlights” by going back up to the toolbar and clicking “Select” and then “None.”
Step Seven
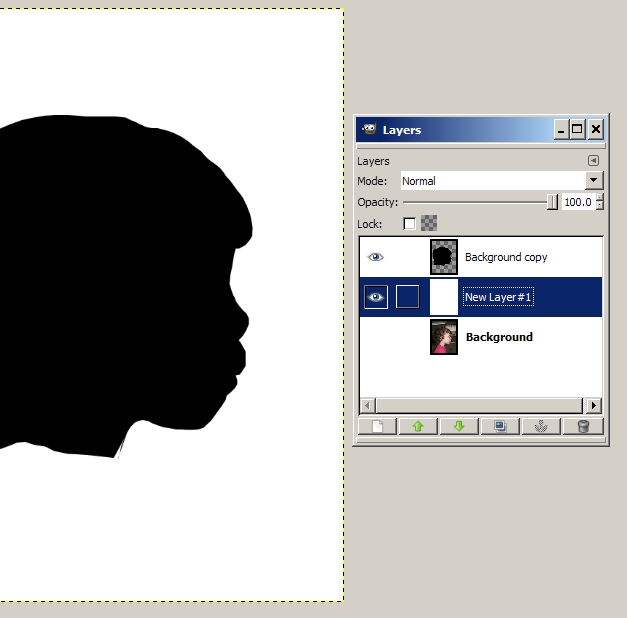
Time to clean up the edges! At this point, I fill my “new layer” (the one we created in the beginning) with white — this creates a high contrast that allows me to more perfectly see every edge of the silhouette.
You can use the shrink options, feather options, and the good ol’ eraser to remove any harsh edges. For the Little Lady’s Curl’s, I used the Ellipses select option (you know — the one that makes circles) and made different ellipses around her curls, filling them in with black. This made for smoother curls.
Before clean-up:
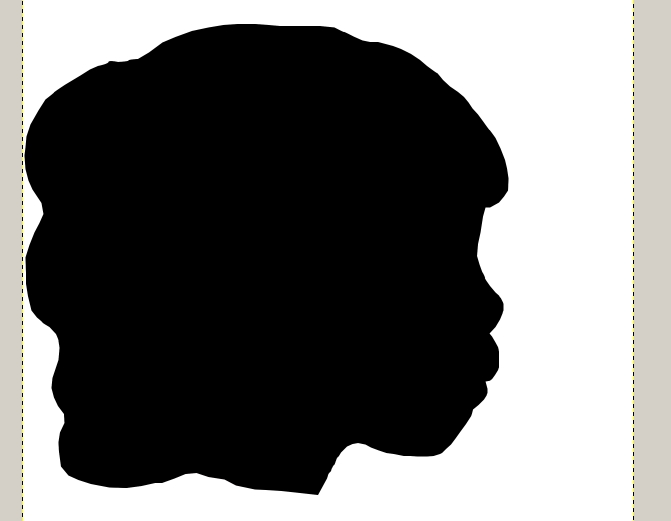
After clean-up:
That’s pretty much it!!!! Once I finished the clean up step, I printed my silhouettes on cream card stock and then matted & framed them. BUT, if you want to make a traditional silhouette, you could use the computer generated one as a template. Place the template on good, black card stock and, using a sharp tool like an exacto knife, cut out your silhouette and frame!
I hope this wasn’t too garbled. If you have any questions, let me know!