When it comes to me and my sisters, I did not get the creative genes — they all did. One sister oil paints, one sister refinishes furniture and draws gorgeous charcoal drawings, and my sister (Sarah) is a professional cake decorate AND makes “adorableness” for her daughter.
Recently she has started sewing for sweet Scarlett and I asked her to share the latest project here…. an easy, “30 Minute” Handkerchief Dress with Matching Bow.
(any good Southern Mama knows you gotta have a bow!)
This simple tutorial works for a toddler dress, or (in the case of the Little Lady) a cute top…. and, as Sarah shows below, it is the perfect, easy, and cheap (!) way to make a unique holiday outfit.
Thanks, Sarah, for the fun tutorial and cute pictures of Miss Scarlett!
* * * * * * * * * * * * * * * * * * * * * * * * * * * * * *
Thirty Minute Handkerchief Dress
I have been seeing all kinds of great sewing projects and I decided I was ready to take on sewing clothes for my 13 months old daughter.
Since I had not tried my hand at clothing projects before, so I decided to start with a pretty basic project: the handkerchief dress with a matching hair-bow.
And, in the span of thirty minutes — thanks to the help of a certain adventuresome mouse — I was able to do this sewing toddler-free!
 (Ooooooh, Say Can You See?????)
Supplies:
- 2 Handkerchiefs *
- Matching ribbon – any size or texture you want.
- Sewing machine and matching thread
- Scissors or rotary cutter/mat
- Hot Glue gun
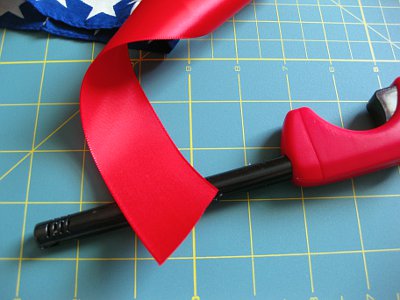
- Lighter (to burn the ends of your ribbon)
Instructions
For the Dress
Step One: wash your handkerchiefs and iron them to eliminate all wrinkles. (If you’re working with a pattern on your handkerchief as I was, you’ll realize that no two handkerchiefs are alike nor are they “square.” You may have to make some adjustments as you sew.)
Step Two: As I mentioned earlier Miss Scarlett is only 13 months old, so I had to cut the handkerchief down to her size (roughly down by 1/3). For a child the Little Lady’s age, using a whole handkerchief would work.
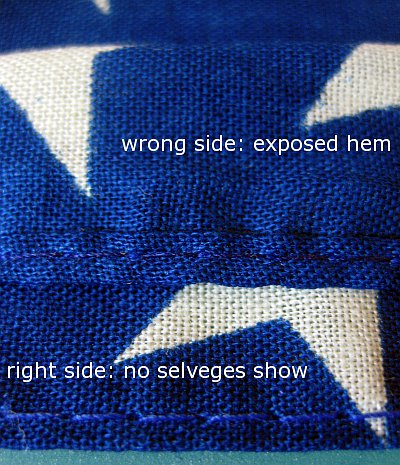
When you use the whole handkerchief, you don’t have to worry about hems because they’re already done for you! If you cut the handkerchief down to a smaller size, you’ll have to think about making sure the sides and bottom have hems. Also, make sure you’re aware which side of the handkerchief is the “right side” of the fabric. I used the hems to help distinguish which was the “right” and “wrong” sides of the handkerchief.
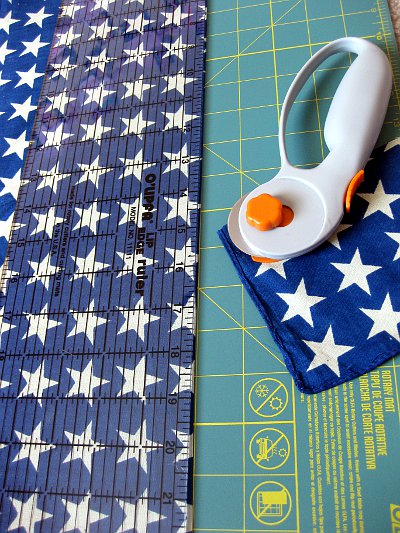
I used my rotary cutter not only to cut the handkerchief down to size, but also to make sure the pattern was straight, or as straight as I was willing to make it.
Step Three: I placed my first handkerchief down wrong side up and folded the top down approximately 2 inches.
This will become the casing your ribbon will go through. Sew this in place (I used the handkerchief’s original hem as a guide for my hem). Do the same with 2nd handkerchief.
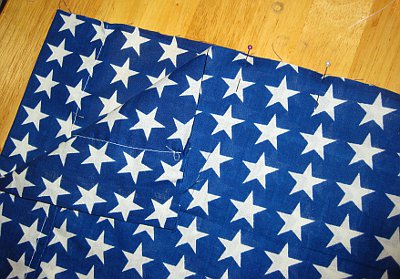
Step Four: If you have already hemmed your “sides” of the fabric, you’re ready to put the “right sides” of the fabric together and . . .
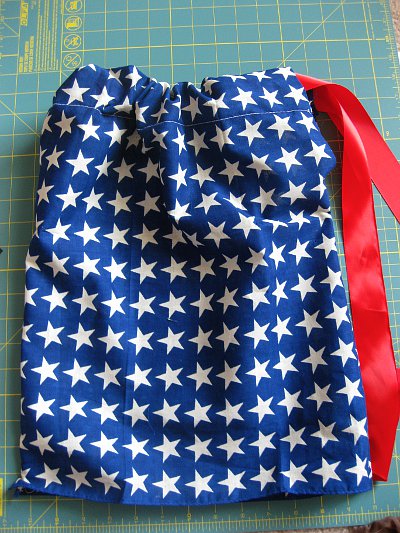
sew the sides. Leave the top 1/4 open for arm holes.
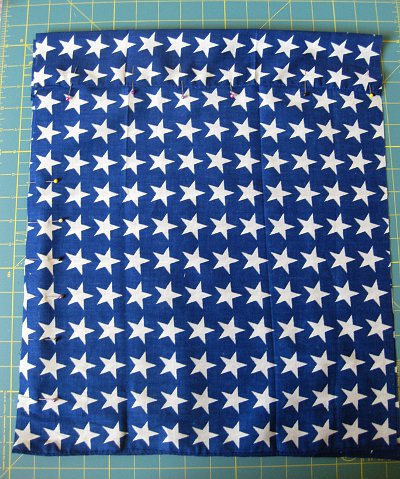
(After you sew the sides, your dress will look more like a pillow case or a sack, but trust me – it will be a dress in seconds!)
Almost done!
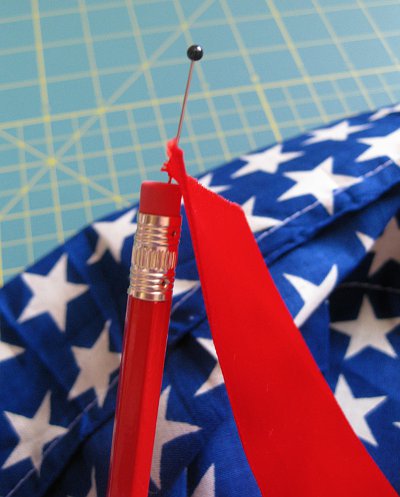
Step Five: Now you’re ready to thread your ribbon through the top casings (which will be come the neck of the dress). To make this job simpler, I used a sewing pin and pinned my ribbon onto a pencil’s eraser to help feed it through. Much easier this way!
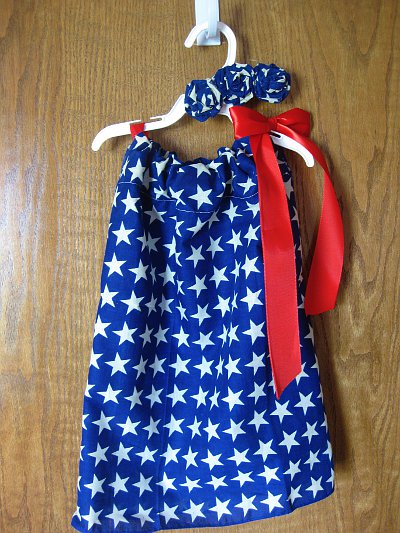
With the ribbon, you have two options: a bow on one shoulder or bows on both shoulders. If you prefer one bow, use one long piece of ribbon and thread through both front and back handkerchiefs.
If you prefer two bows, you will thread one piece of ribbon through the front piece and another piece of ribbon through the back.Then, just tie at the shoulders. I lightly burned the ends of my ribbon to seal it and prevent fringing.
Now you’re done with the dress!!!!
For the Coordinating Bow
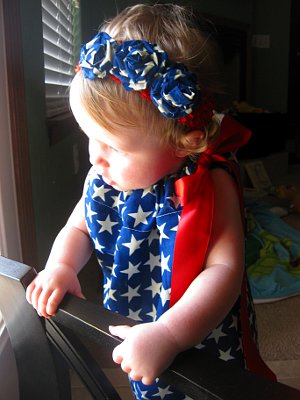
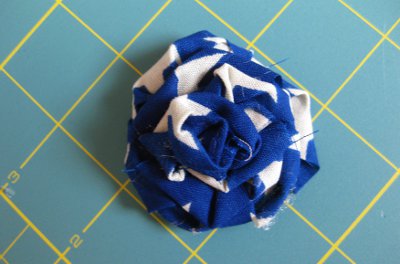
For the bow, I used the remaining handkerchief scraps to make fabric rosettes. I cut the large piece I had left into 3 long strips. The length and width are up to you – there’s no right or wrong measurements.
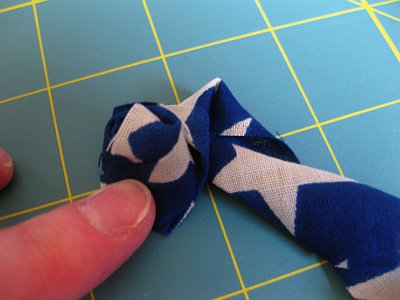
You simply tie a knot in one end of your strips. I keep the knot in my left hand and with my right hand I simply twist the fabric and rotate it around the knot.
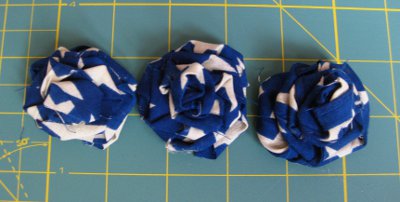
The first time I tried a rosette, I didn’t bother with gluing it – because it was awful! The 2nd and 3rd I made looked much better.
When you get better at twisting and rotating the fabric to look like pedals, you can glue your sections as needed to help secure them.
When you get to the end of your strip of fabric, simply tuck the end under the rosette and glue it.
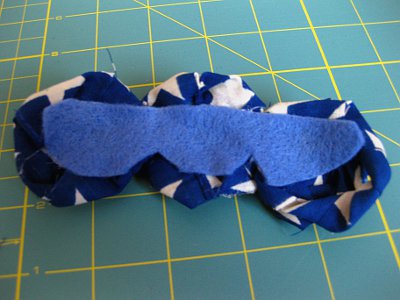
After I made 3 rosettes (and no, they will never all look the same), I glued them onto a piece of felt and glued a hair clip onto the felt.
Project Notes:
*These can be found from both Hobby Lobby ($1.99) and Walmart ($0.97). This particular project is for Miss Scarlett’s 4th of July outfit so I perused the summer holiday section at Hobby Lobby and came across some handkerchiefs that were navy with white stars. Exactly what I wanted and 50% off . . . even better!
And . . . that’s it!!
Just as Mickey was starting to sing the Hot Dog song, I was ready to let Miss Scarlett model her new dress. I tried Scarlett’s outfit on her and she looked soo cute!
 Now …. put the Micky Mouse back on, woman, and nobody gets hurt!
Let me know if you have any questions or if anything in the tutorial is unclear!
~~ Sarah
